TechTalk: FATBike Cranks Part II – selection and installation

Shown already… But they're just nice!
Hier geht's zur Deutschen Version!
It's been a while since we wrote about the technical basics of FATBike cranks and what you should consider before you buy some. This article comes into play when you decide to rip off your old sticks and install a shiny pair of new FATBike cranks.
Bear in mind that this can only be an approximate guidance. There are loads of different installation measures and crank systems out there. So the most important advice we have today: make sure you know your bike and what she really wants!!!
FATBike cranks installation – take an example
Race Face Next SL Cranks on a Specialized S-Works FatBoy Carbon
As said before, we decided to use Race Face cranks for our Tech Talk series. We did this for two simple reasons. First we like it! Face it: we're old school, two guys who grew up with Rocky Mountain, rim brakes, Panaracer Smoke tires. And: Race Face!
Secondly: there is no more flexible crank system on the market that we know of. Turbine and Next SL cranks can be combined with an array of spindles, spiders, chainrings and neat stuff to literally fit every application on this planet. And we're not just talking about FATBikes. You can also fit them to your skinny MTB if you like.
Just recently the Race Face-guys provided us with their latest booster spiders to resolve the chainline issue on our Specialized FatBoy. We'll dig into this a bit later. The downside here is. if you don't choose the correct setup, it will not fit your bike. Did we say that you need to know what your FATBike needs? We seriously mean it!
Fitting the FatBoy with FAT cranks

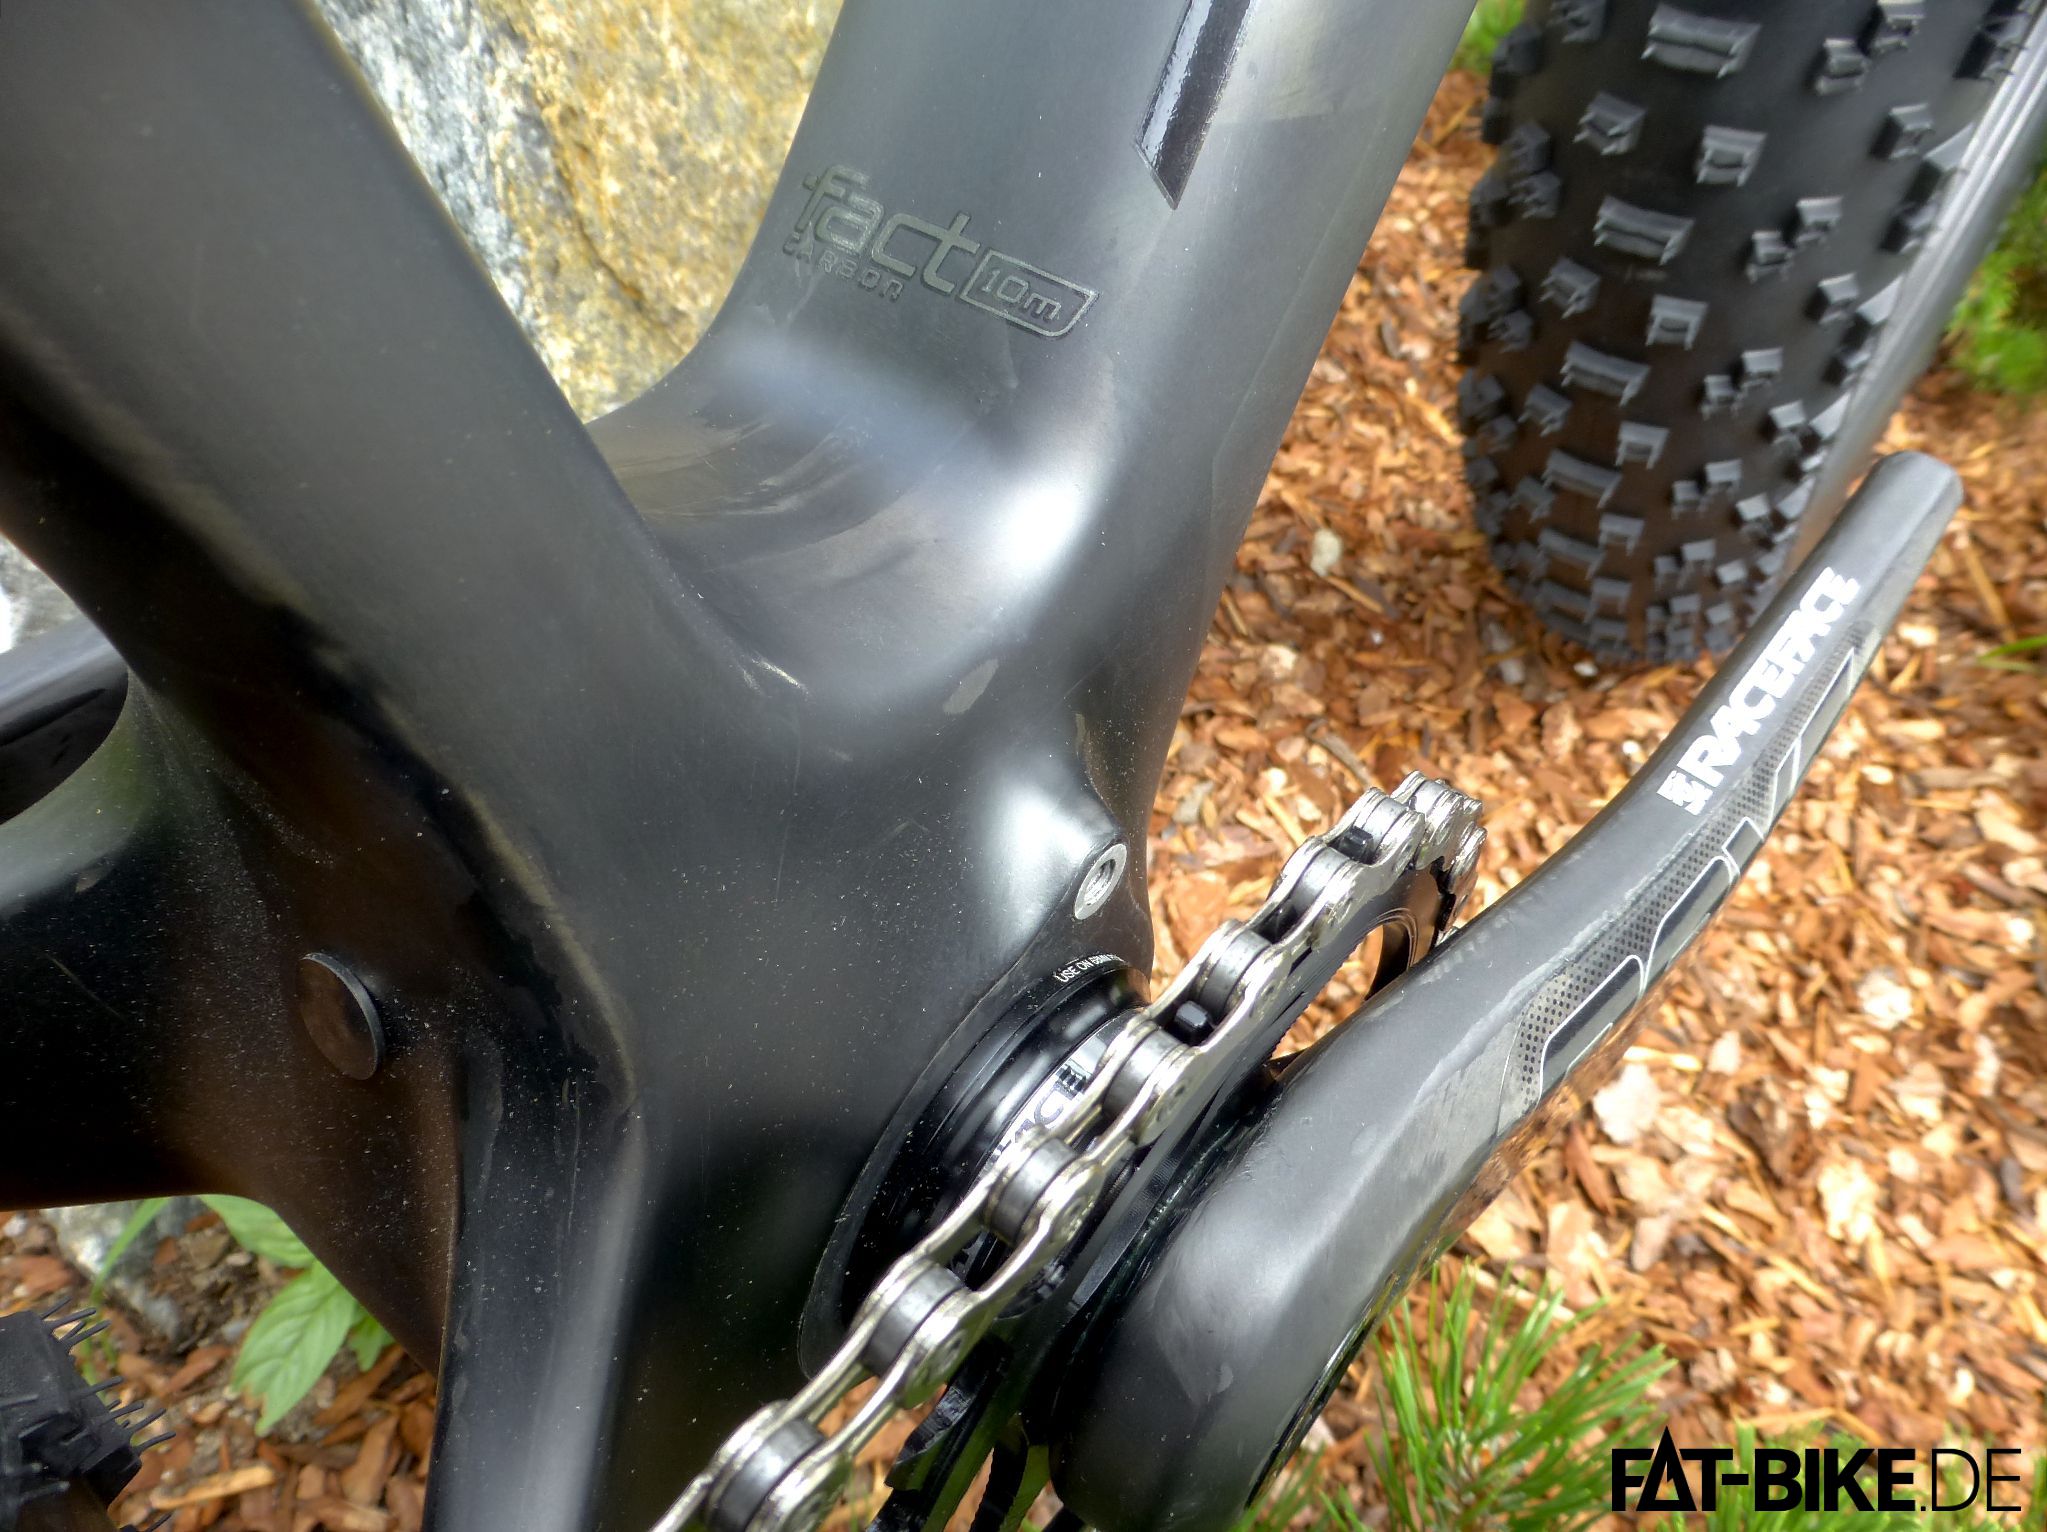
That's where we came from: worn E13 Kurbel on a FatBoy
In our cases our intention was to replace a worn E13 crank by something new. Guess what – something Race Face-ish! So we followed our own instructions to analyse the bike. We also downloaded a chart of crank/spindle/chainring combinations from the Race Face website to identify the right mix of spindle and spider.
The FatBoy is fitted with a PF30 bottom bracket that resides in a 100mm shell. Due to smart chainstay design the Q-Factor can be as low as somewhat around 200 millimeter. This indicates we can go for the 170mm spindle. In case you have wider chainstays or bottom bracket housing, you might need to go for the 190mm spindle. The FatBoy's symmetric 190mm rear end indicates a 72mm chainline which, based on our own measures of the standard E13 FATBike crankset (center of bottom bracket shell to center between the two chainrings) proved to be correct. For our application (2×10) the Race Face chart says that 2 chainrings on a 2x spider will end up in a 66.5mm chainline. Here the booster spider (not in the chart, yet) comes into play: it adds another 3mm, so we're close to the 72mm target chainline. Not pitch perfect but a mere 2mm offset is close enough to keep wear low and performance high.
Sounds pretty simple but frankly spoken, it took us a while to figure this out 😉 But it works (proven already) so let's move on to FATBike cranks installation!
FATBike cranks installation – step by step!
Before you start, make sure you have the right tools. In case of the Race Face cranks this is an insertion tool to install your bottom bracket, torque wrench, 2mm and 16mm Allen wrenches (you may need the latter to swap the spindle, therefore it's nowadays included in the spindle kit) and a bottom bracket tool to lock the spider.
Please also refer to the Race Face Installation Guide and make sure you have all skills you need.
So first of all: remove your old cranks. As we don't know what you have there we can't tell you how. Seriously. We can't. But after you succeeded, make sure you remove every stain and/or debris out of the threads and wipe the inside of your frame perfectly clean. Before installing your new precious BB add a thin layer of fitting grease to avoid nasty clicking noise during riding. Then: installation!
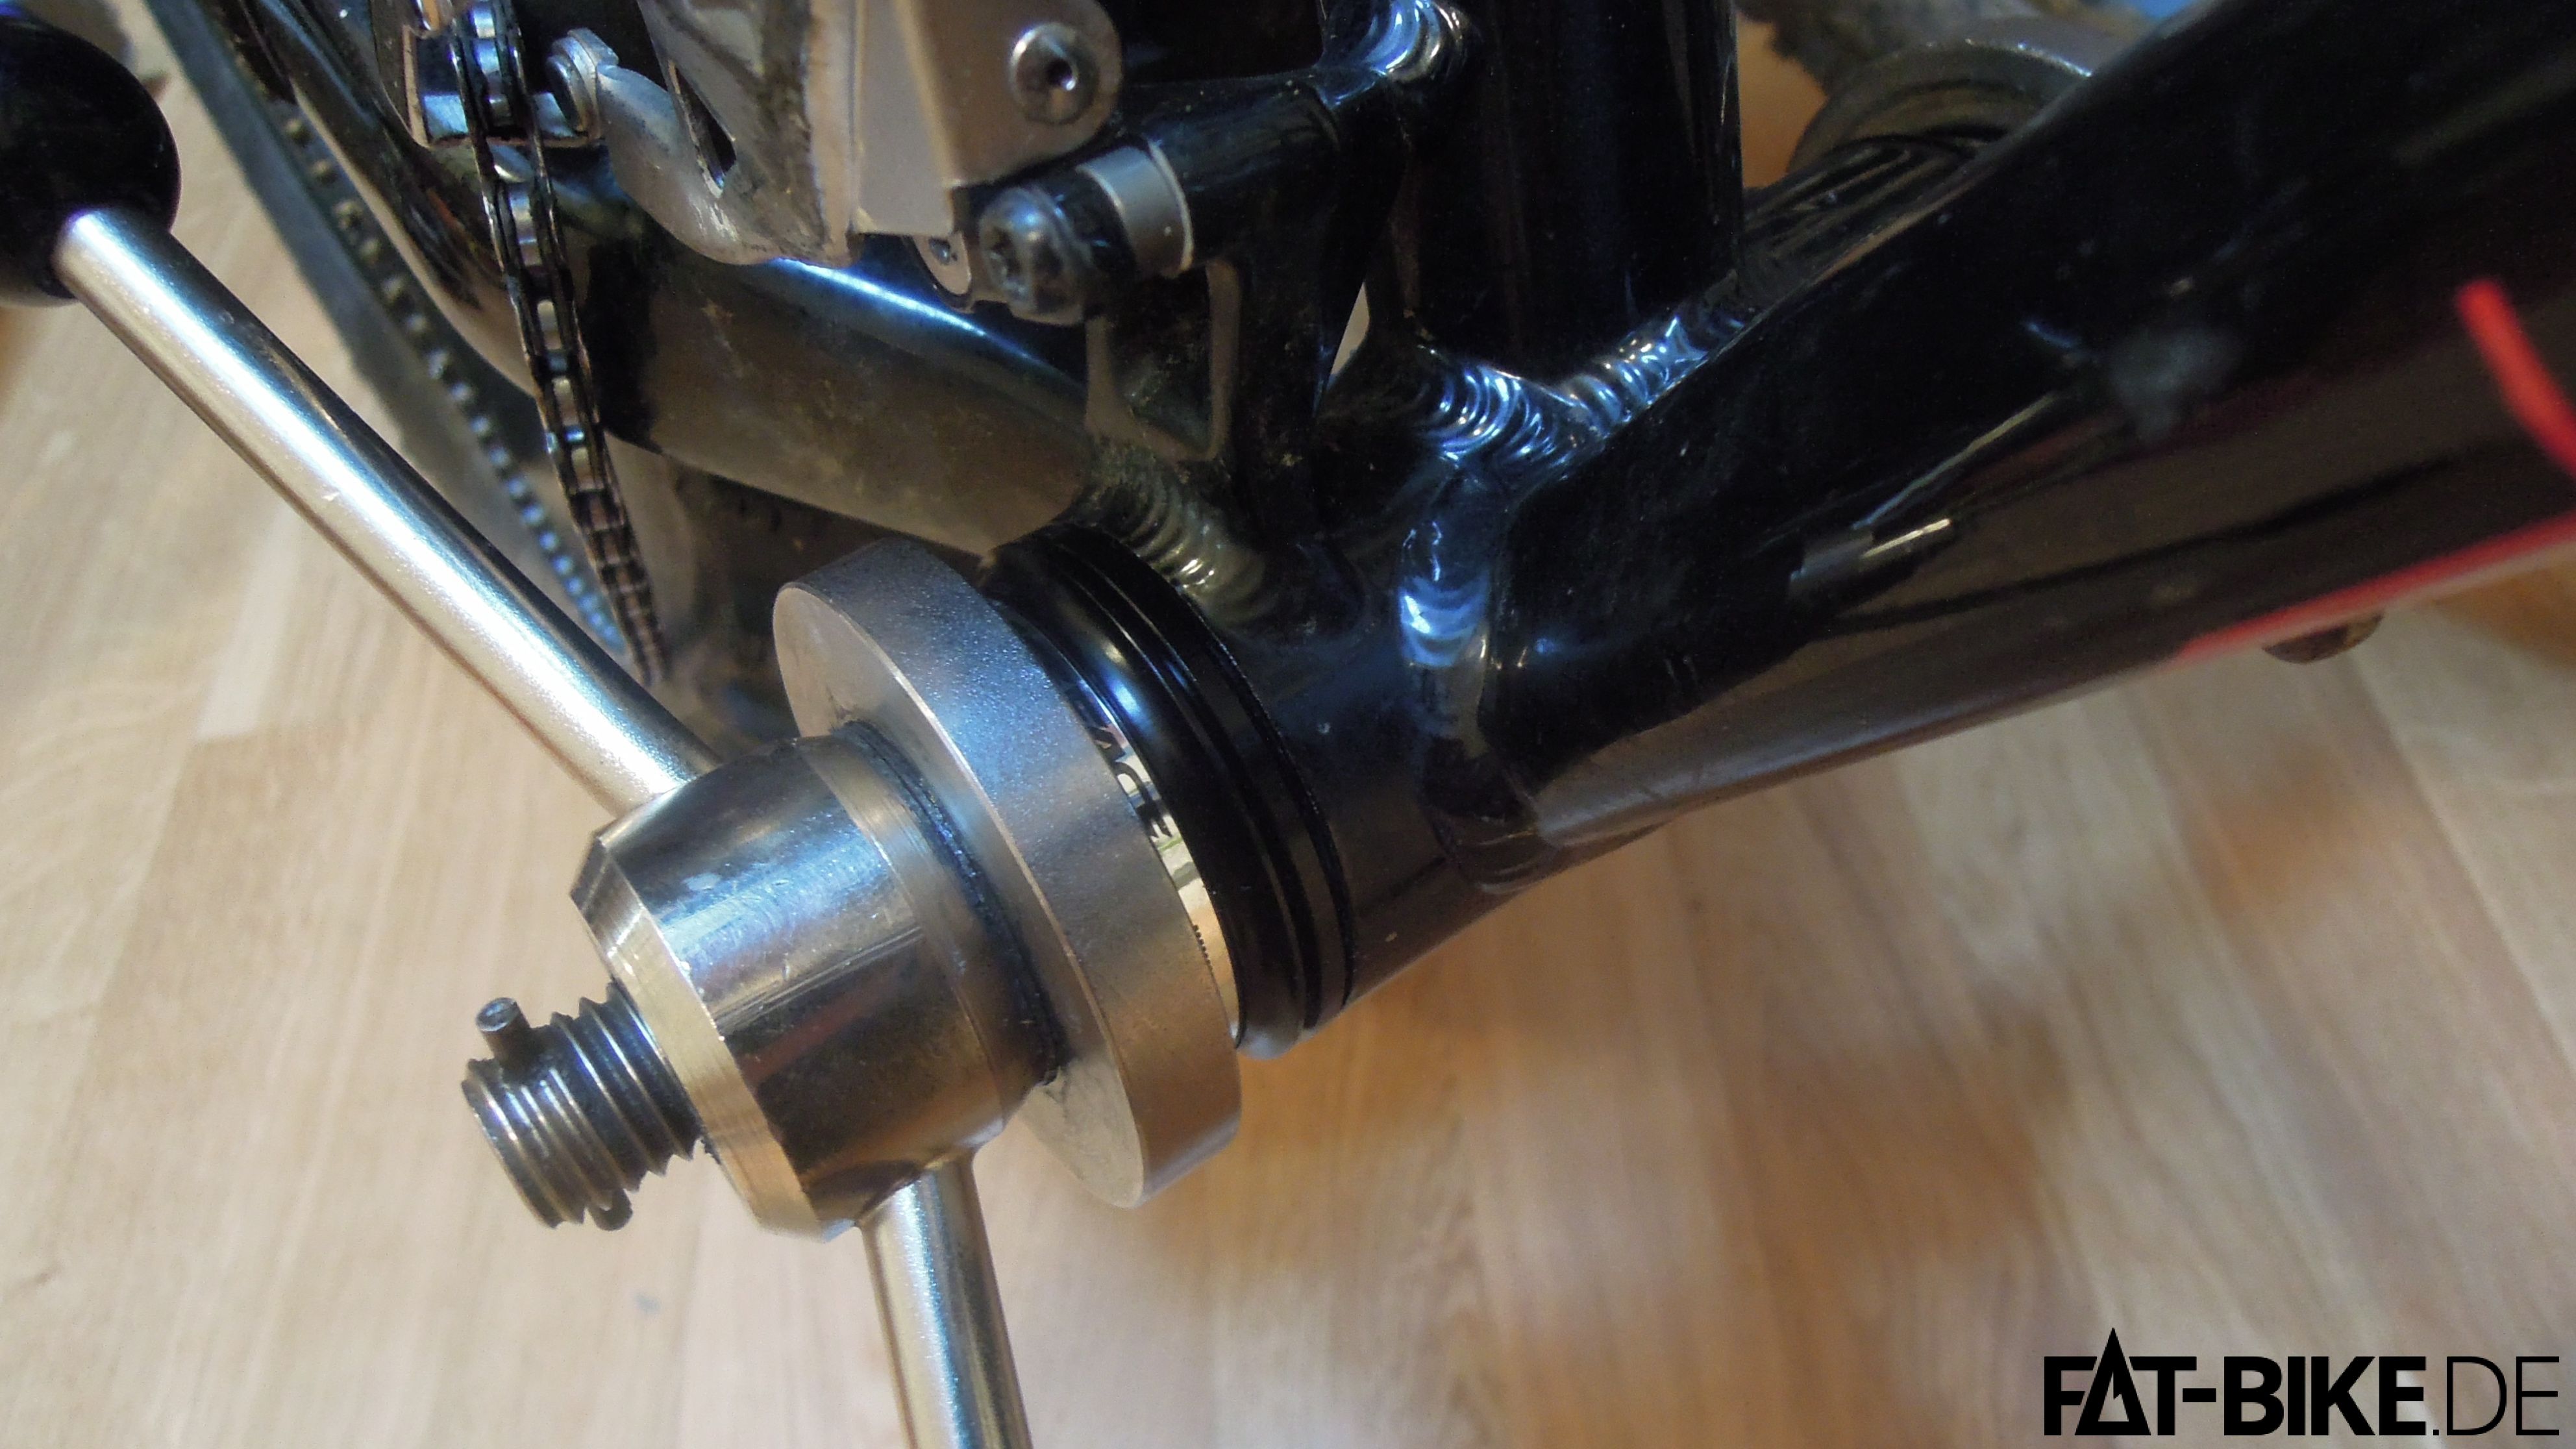
Fitting the Bottom Bracket
We used a professional tool to force our Race Face PF30 BB to its place. Make sure you apply the right amount of spacers – unlike we did. You can really save time here…
Final position. Nearly…
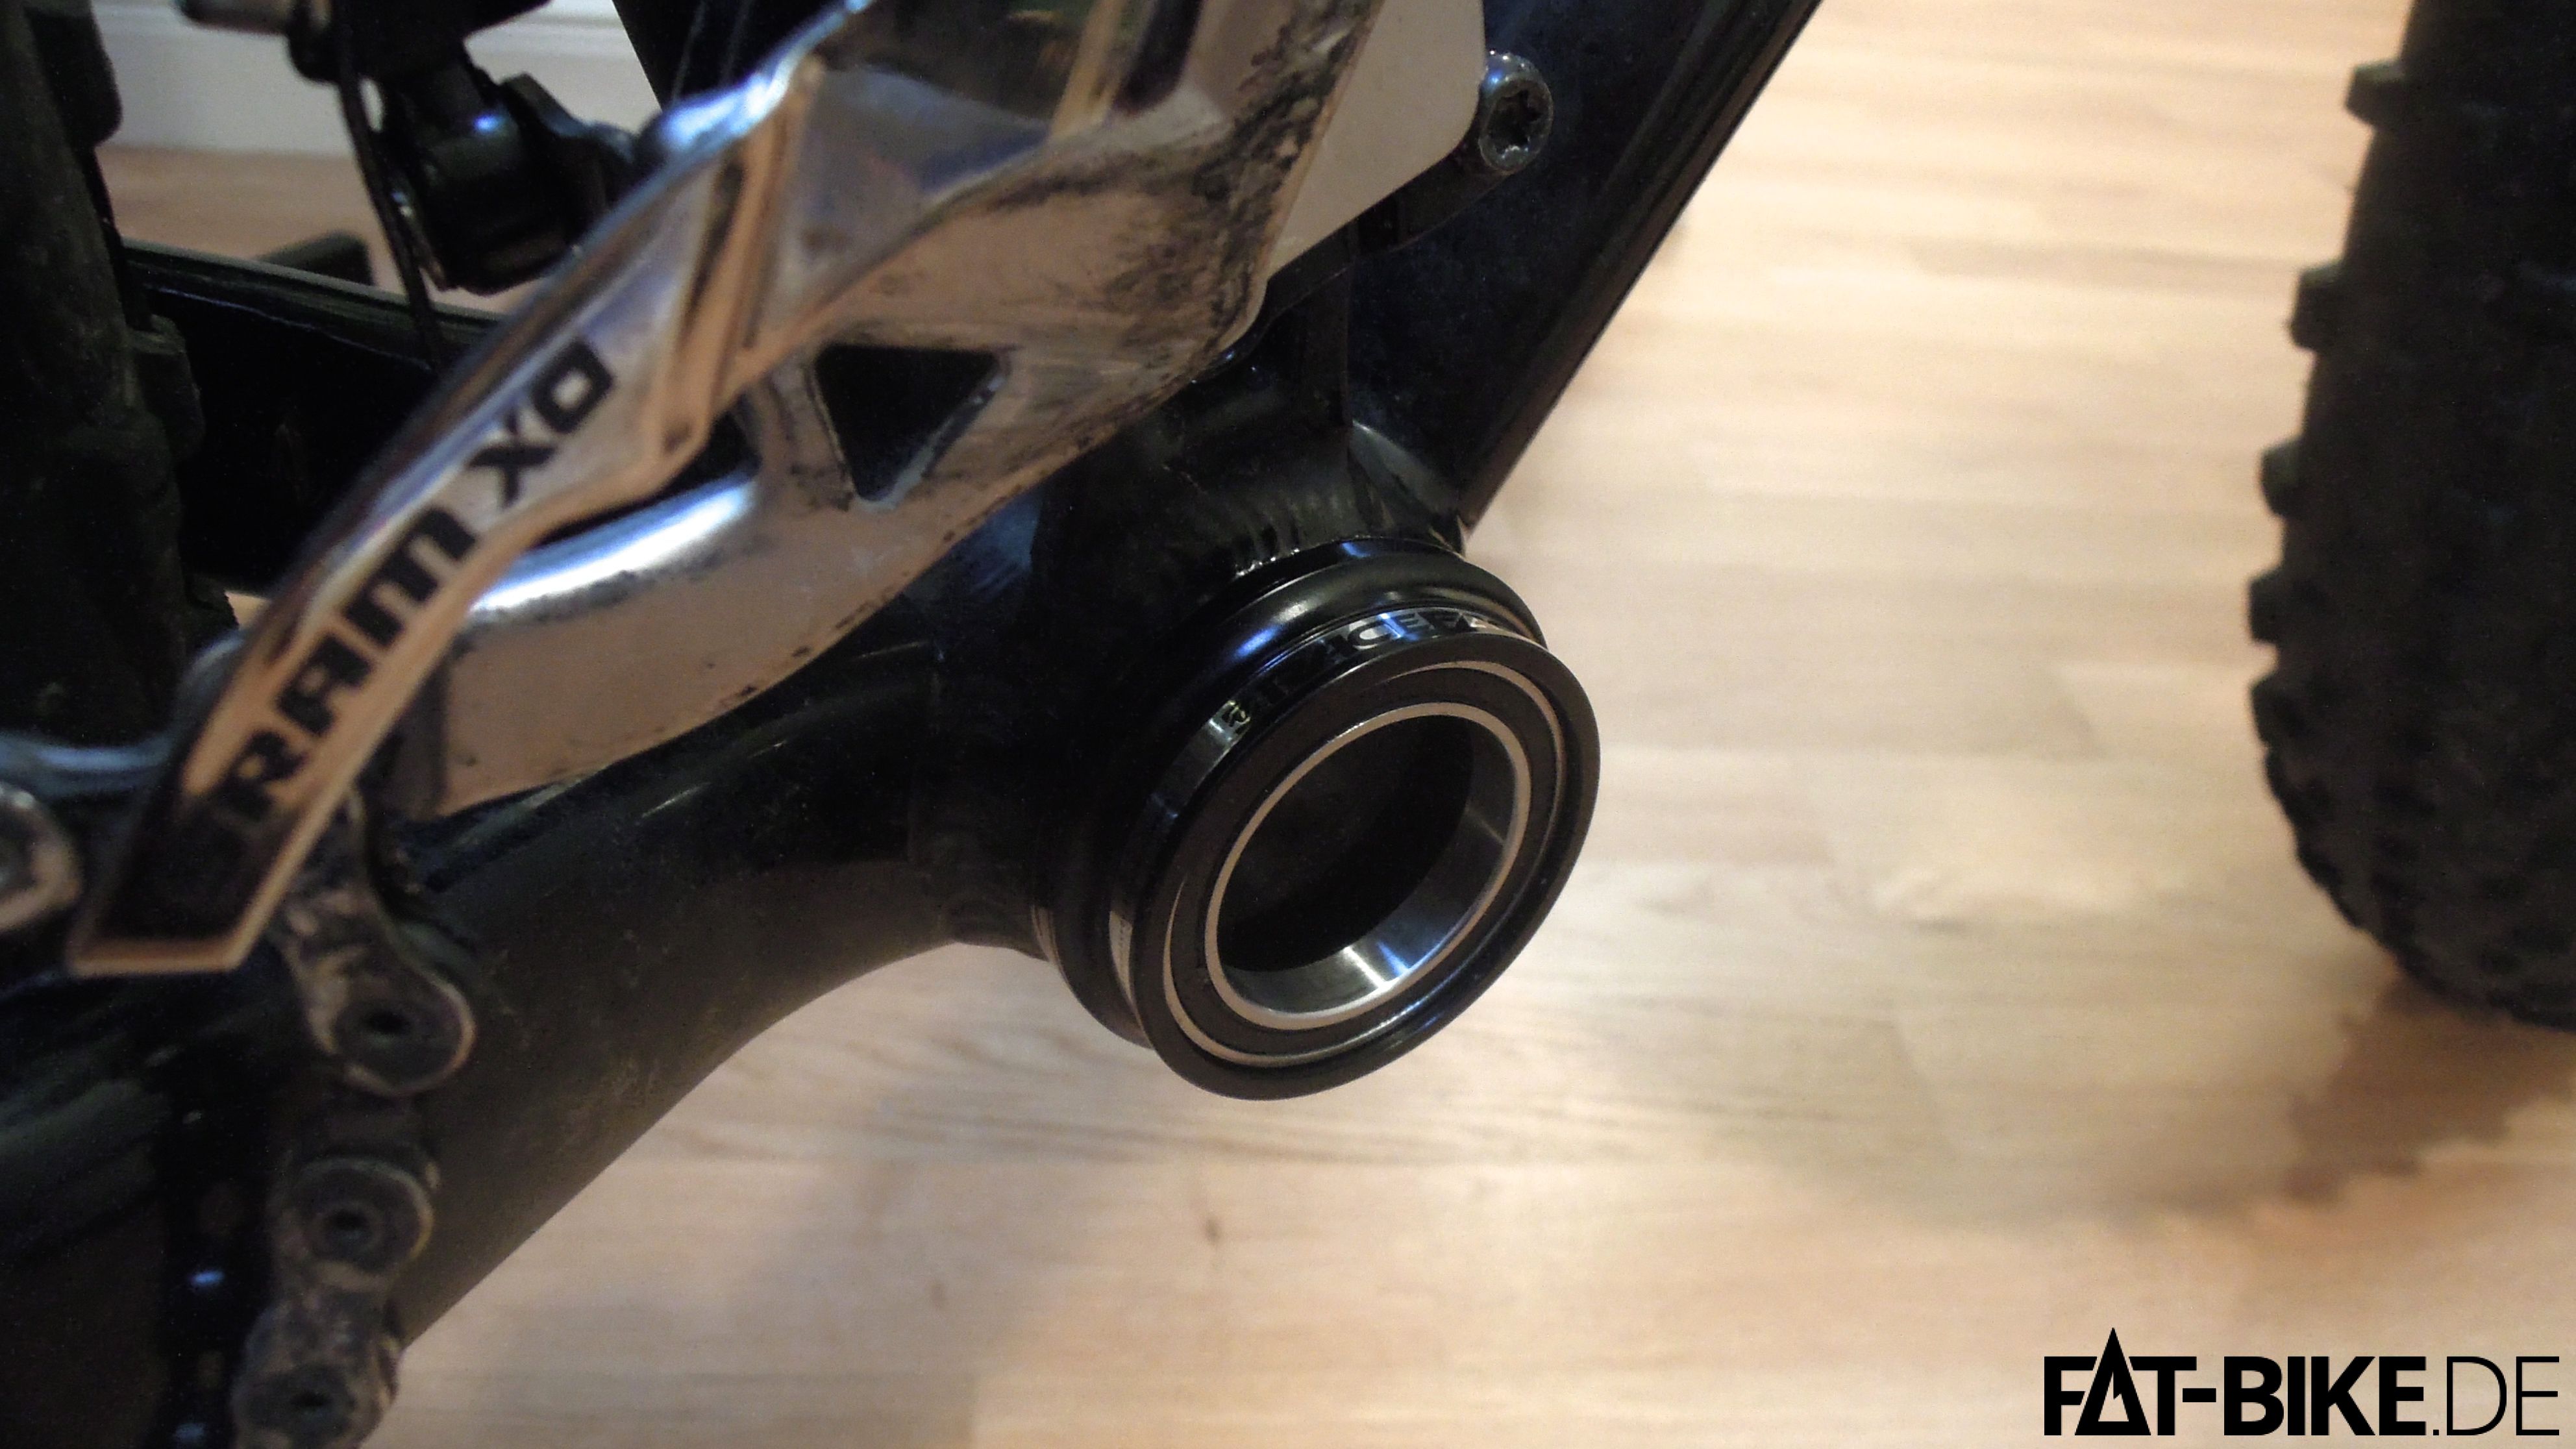
That done, take care to have the right spindle fitted to your crank. We suggest to first install the cranks with no spacers to checks whether your choice was right or you need the other spindle. There's a 50:50 chance. You know what it means…
Check the fit. Fits? Fits!
Right spindle? Good girl! Don't forget to mount the spider. Now is the latest time to do it! Done? Then check the Race Face chart for the correct application of spacers. Add them. And finally assemble the cranks. Fairly easy. Before you tie the center lock, give it a final test round to make sure your cranks don't touch the frame. Now you can tie the center lock screw with the correct torque. One more test: allow at least 5mm clearance on both sides between crank and frame to cover potential distortion.

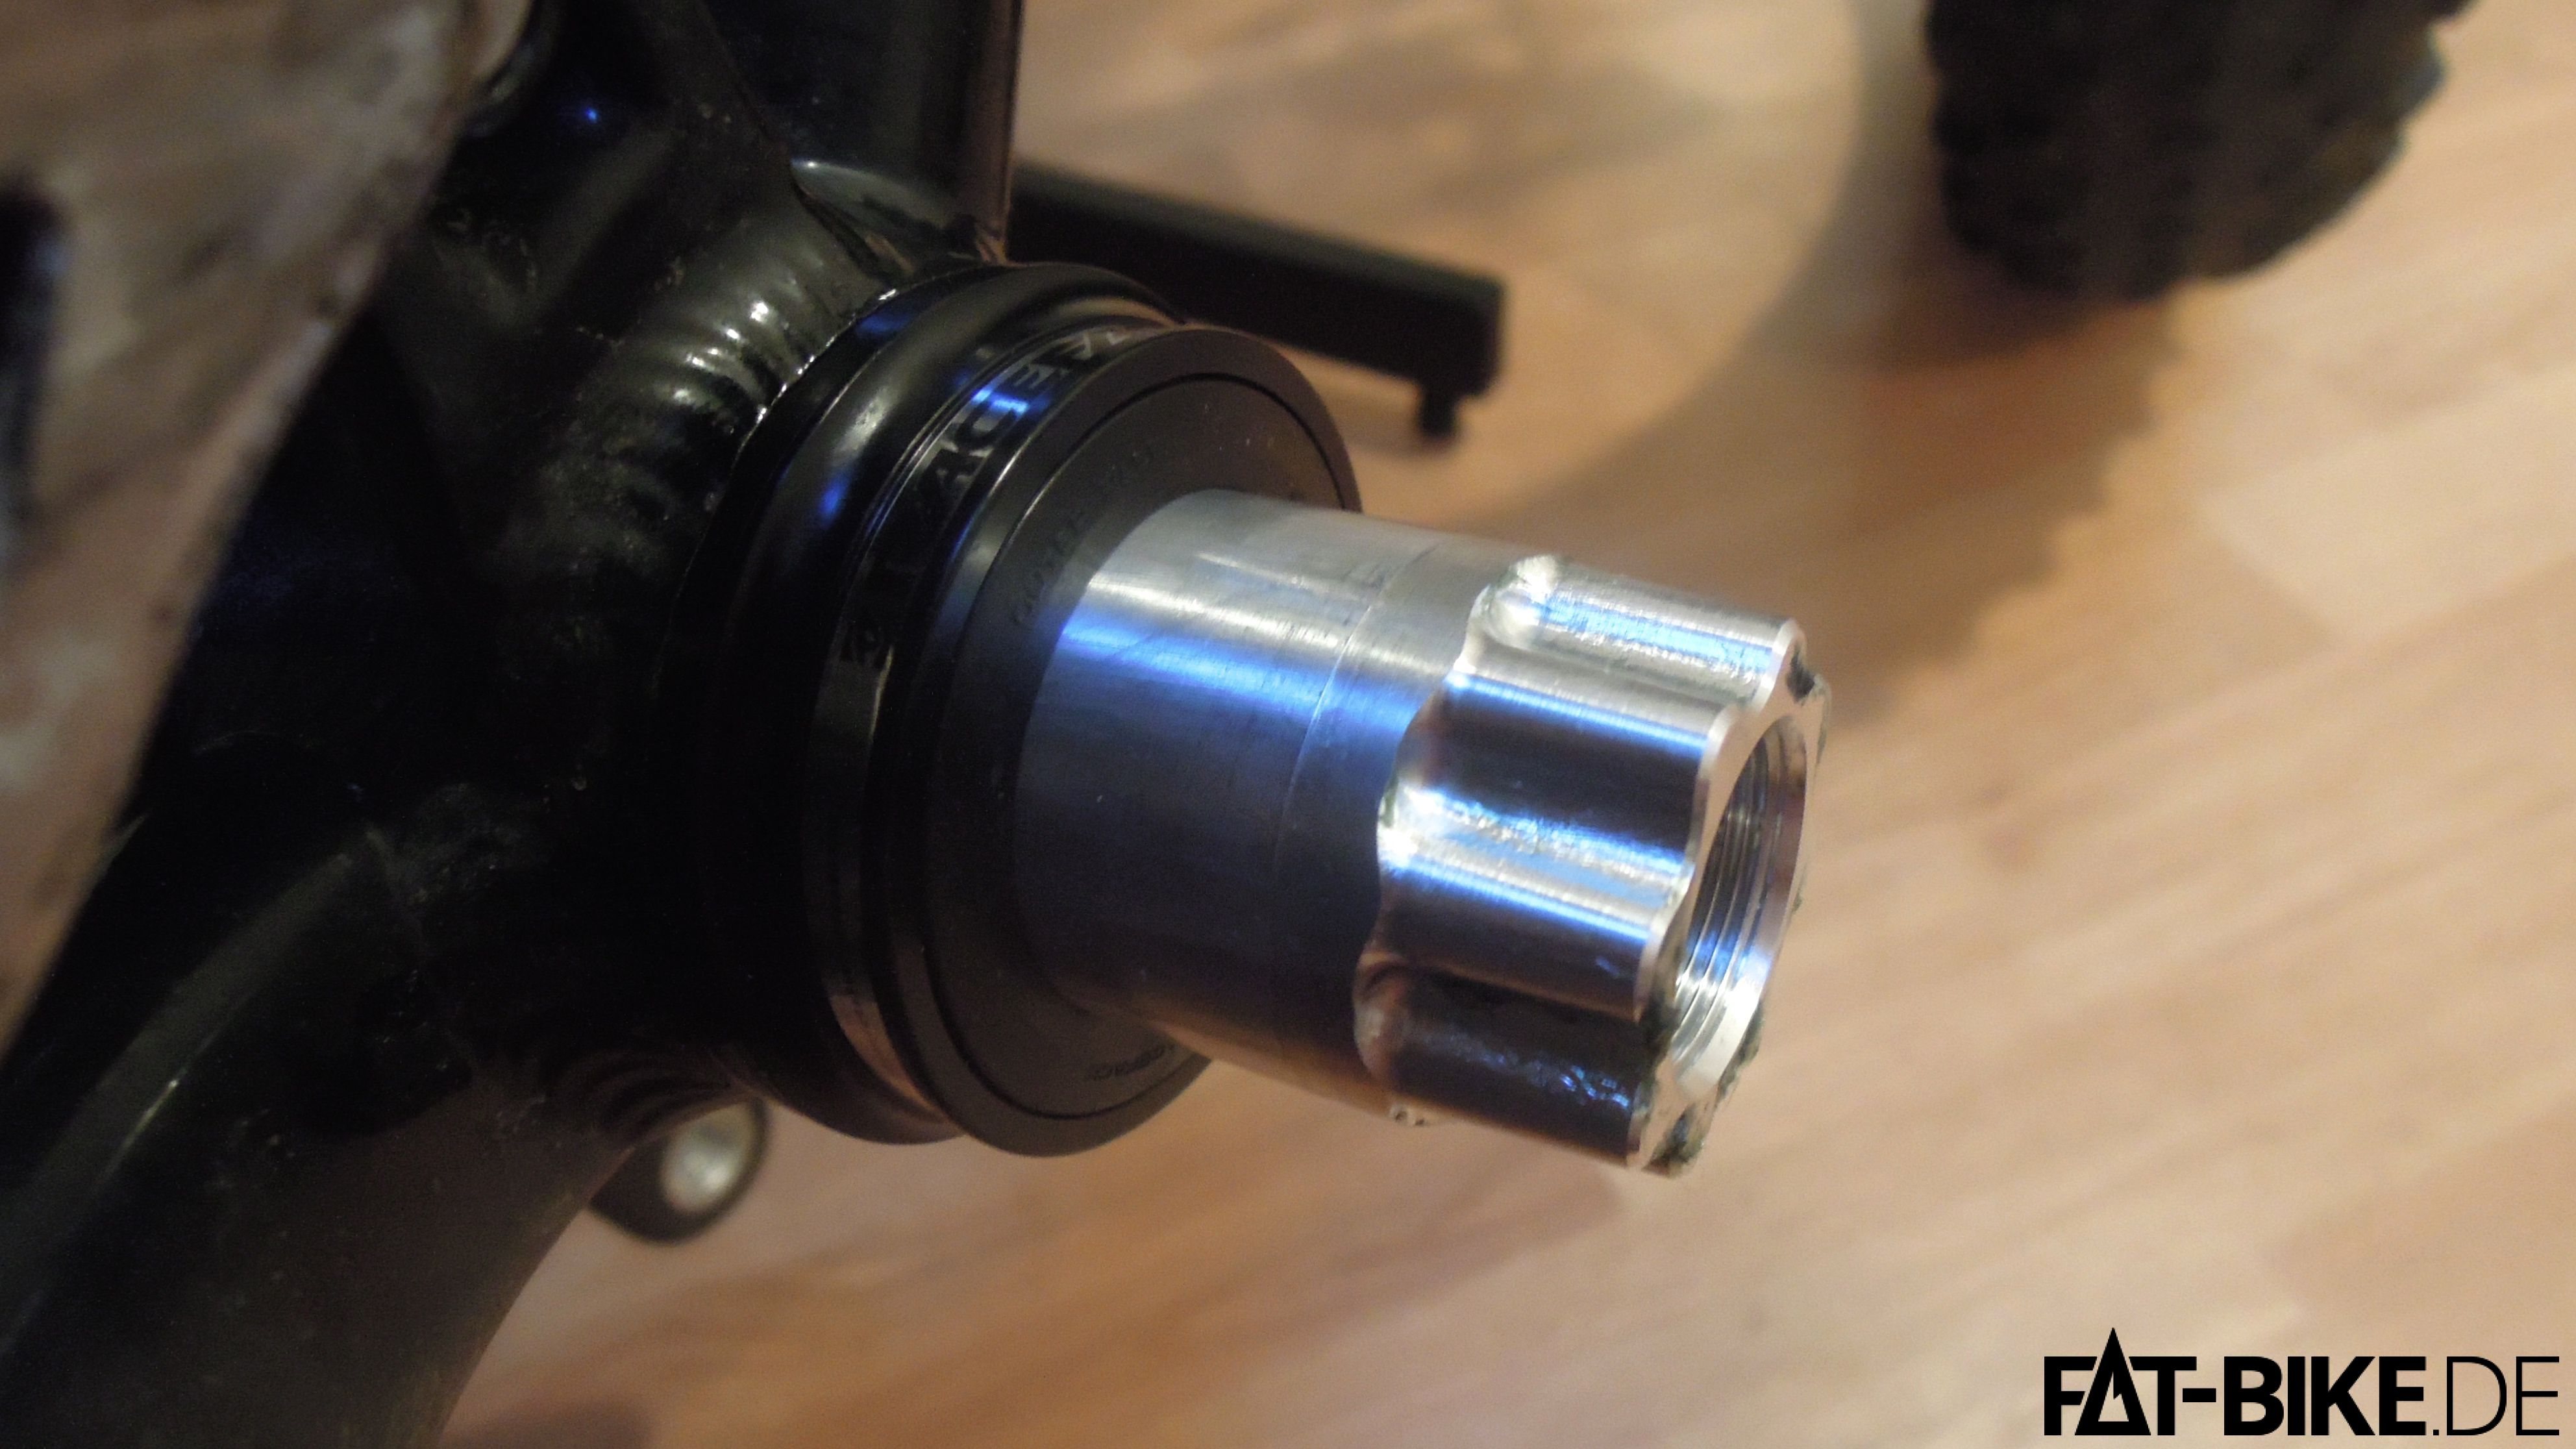
Preload adjuster
finally use the preload adjuster shown above to remove spindle play (refer to the Race Face installation guide). Don't forget to lock it with a 2mm Allen wrench.
Hope we didn't forget a step – if not and if you did a good job that's it. Easy as stealing a drooler from a three year old, isn't it? Ahem, of course we never tried that…
So what?

And here we go: Readily installed the new Next SL Cranks
FATBike Cranks installation… It's a tricky thing. There is so much to consider… Sadly we can just provide one sample out of a near infinite number of combinations. But hopefully our two articles shed some light on what you need to consider, measure and how big the effort is. If you feel unsure or don't have the right skill hand your bike to your dealer. He needs your money to feed his kids. Otherwise give it a try. Your FATBike deserves your love and care!

Hi, i need to replace the crankset on my White 3lite fat bike. It’s a samox and it seems it’s out of production. Can you please help with some directions to follow? I am a noob btw
Thanks
Hi Val,
thanks for the comment. However it’s super hard to help you out. To identify a matching pair of cranks you need to know the width of the bottom bracket, Q-factor (lastly defined by the width of your bike’s chainstays) and hub width. Also the bottom bracket mounting type (BSA threat, press fit, or whatever) is key. Unfortunately we don’t know either of these for your bike. So, sorry to say but you better try a local bike shop, in particular also because swapping cranks requires some special tools…
Hope you will find a way out!
FAT regards
Matt